Cross-posted from here:
http://www.allposterforum.com/index.php/topic,177.msg171196.html#msg171196I thought some of you may be interested in these frames I built. I had been using standard black metal Hollywood Poster frames, but after seeing a poster show in a nice gallery I was very jealous of the frames. Well, I was lucky enough to find a more-or-less complete framing studio on craigslist for $500. It was the contents of a small shop owned by a professional photographer who framed all is own prints. Included in it were a miter saw with framing guides ($700 new), a foot-pedal driven v-nailer ($700), a table-top v-nailer ($200), a 45 deg sander for finishing miters ($100), and then TONS of other stuff -- hinge tape, point driver, 8-10 colors of filler putty, lots of corner clamps, etc, etc, etc.... There were literally boxes of equipment. He also threw in a massive pile of unused moldings. It was the deal of the century given that just these 5 frames I built would have cost $250 a piece easy at a professional frame store.
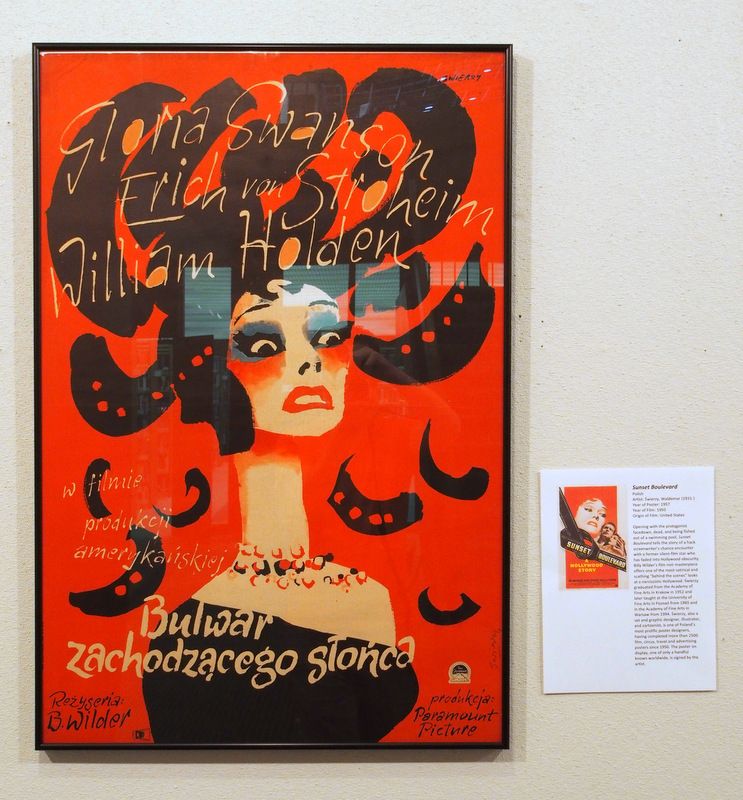
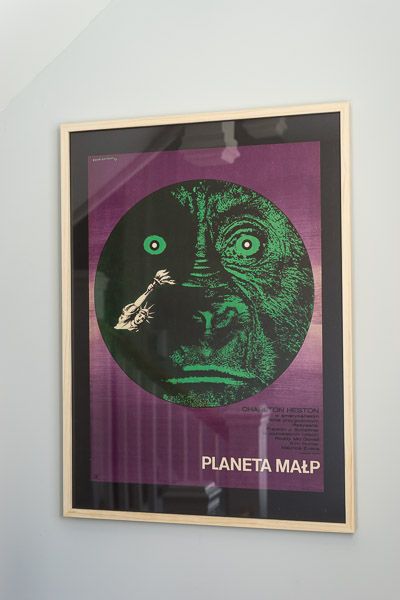
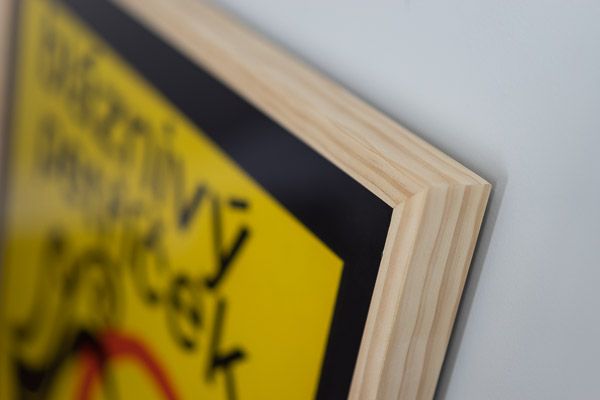
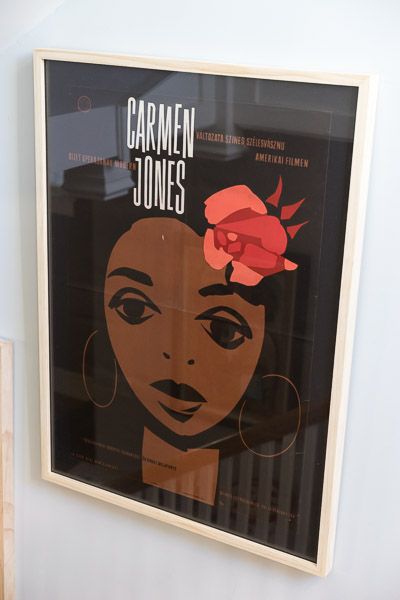
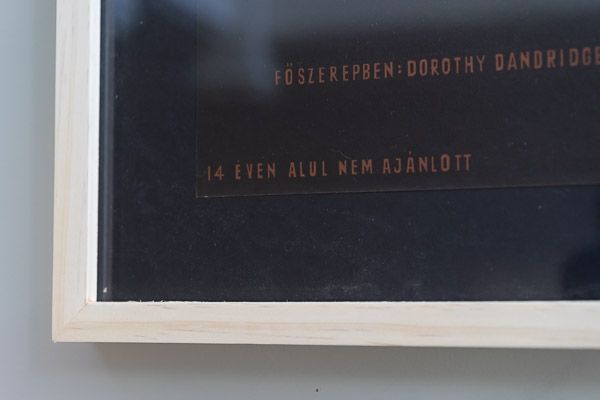
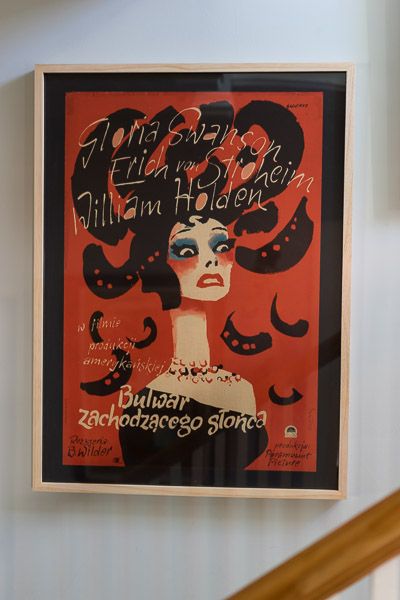
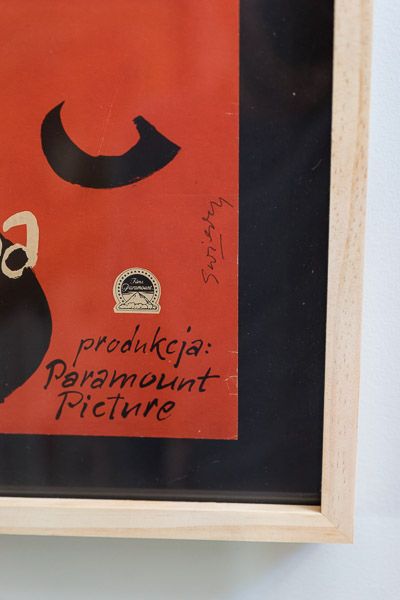
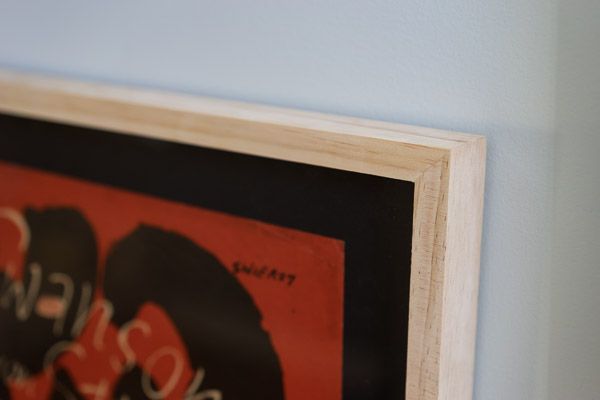
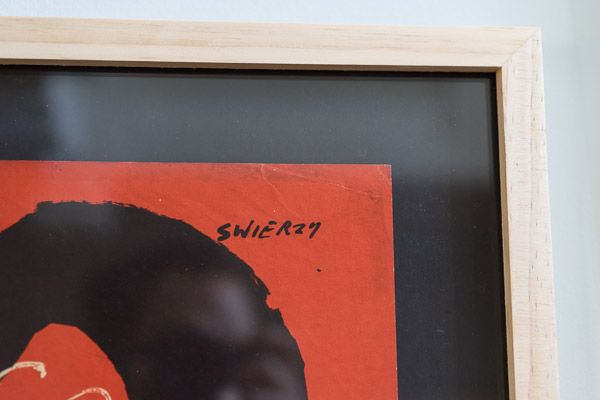
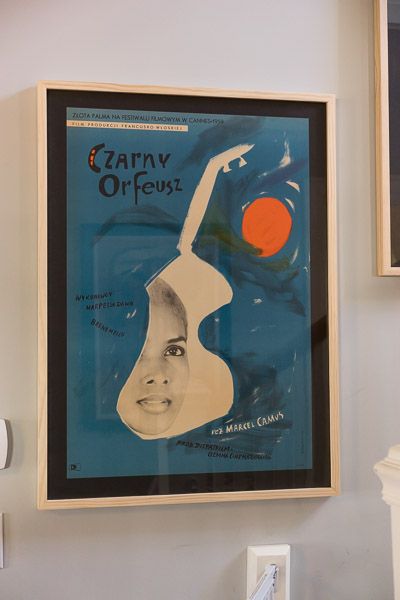
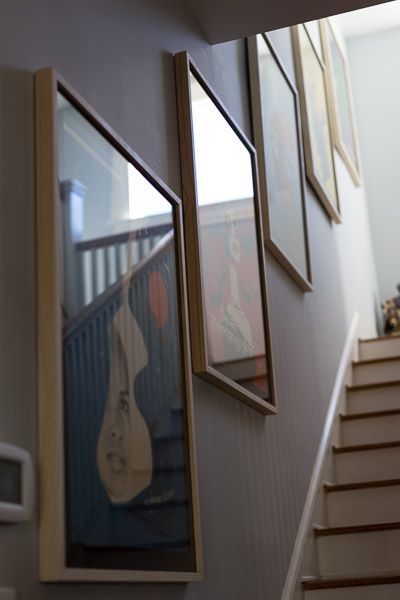
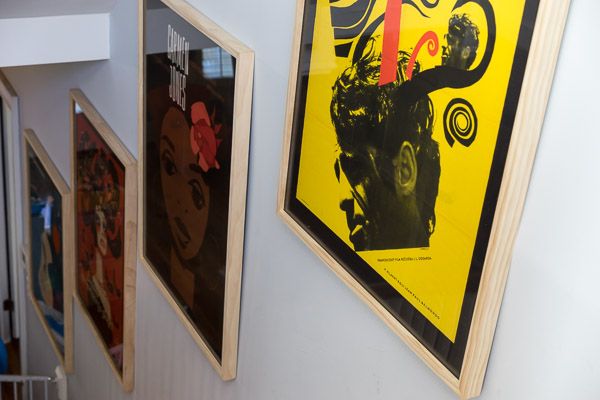
FRAME: With these frames I tried to balance cost, UV protection and a clean, professional look. The frames are made from furniture grade pine, gutted on a table saw and then mitered to length. They were glued and then v-nailed from the back, but because the frame moldings were so deep I also had to clamp them to keep the front of the miters together. After a bit of finish sanding they came out very clean looking. They are just raw wood at this point, but they could easily be stained or painted to achieve any number of looks.
GLAZING: For glazing I used 1/4" standard acrylic. Normally you would use 1/16" acrylic for a frame like this, but I chose thicker acrylic to improve the UV blocking. I'm still looking for concrete data on how thickness impacts UV transmission, but I've heard from multiple framers that increasing thickness is a cheaper way to increase UV protection. In my case, OP2/OP3 Museum grade acrylic would have been ~$150 a sheet (98% UV blocking). Standard plexi is about 65-70% at 1/16" an inch. I'm hoping that by moving to 4x thicker standard plexi that it will increase the UV blocking to the 80-85% range while only increasing cost a small bit. In my case, each piece of 1/4" acrylic only cost $33.
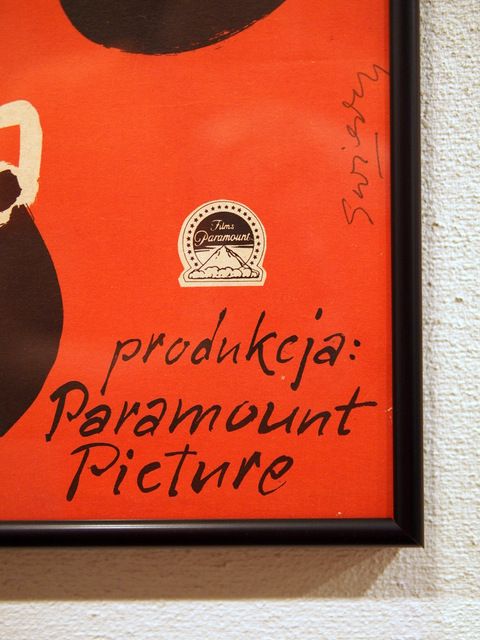
BACKING: I used flat black, acid-free foam core. It serves as both a backing to the poster (secured in place with framing points from behind), and a surface to mount the poster for a floating look. I know that seeing the edges of the paper might not be desirable for all posters, but I especially like it with these full-bleed Eastern Europeans. Posters are mounted to the foam core using a standard T-hinge, which should be easily reversed with some bestine.
I'd love to hear your thoughts!


Now compare that with my previous frame job...